Cleaning Hacks Professionals Swear By: Smarter Ways to Keep Your Home Fresh Without Endless Scrubbing
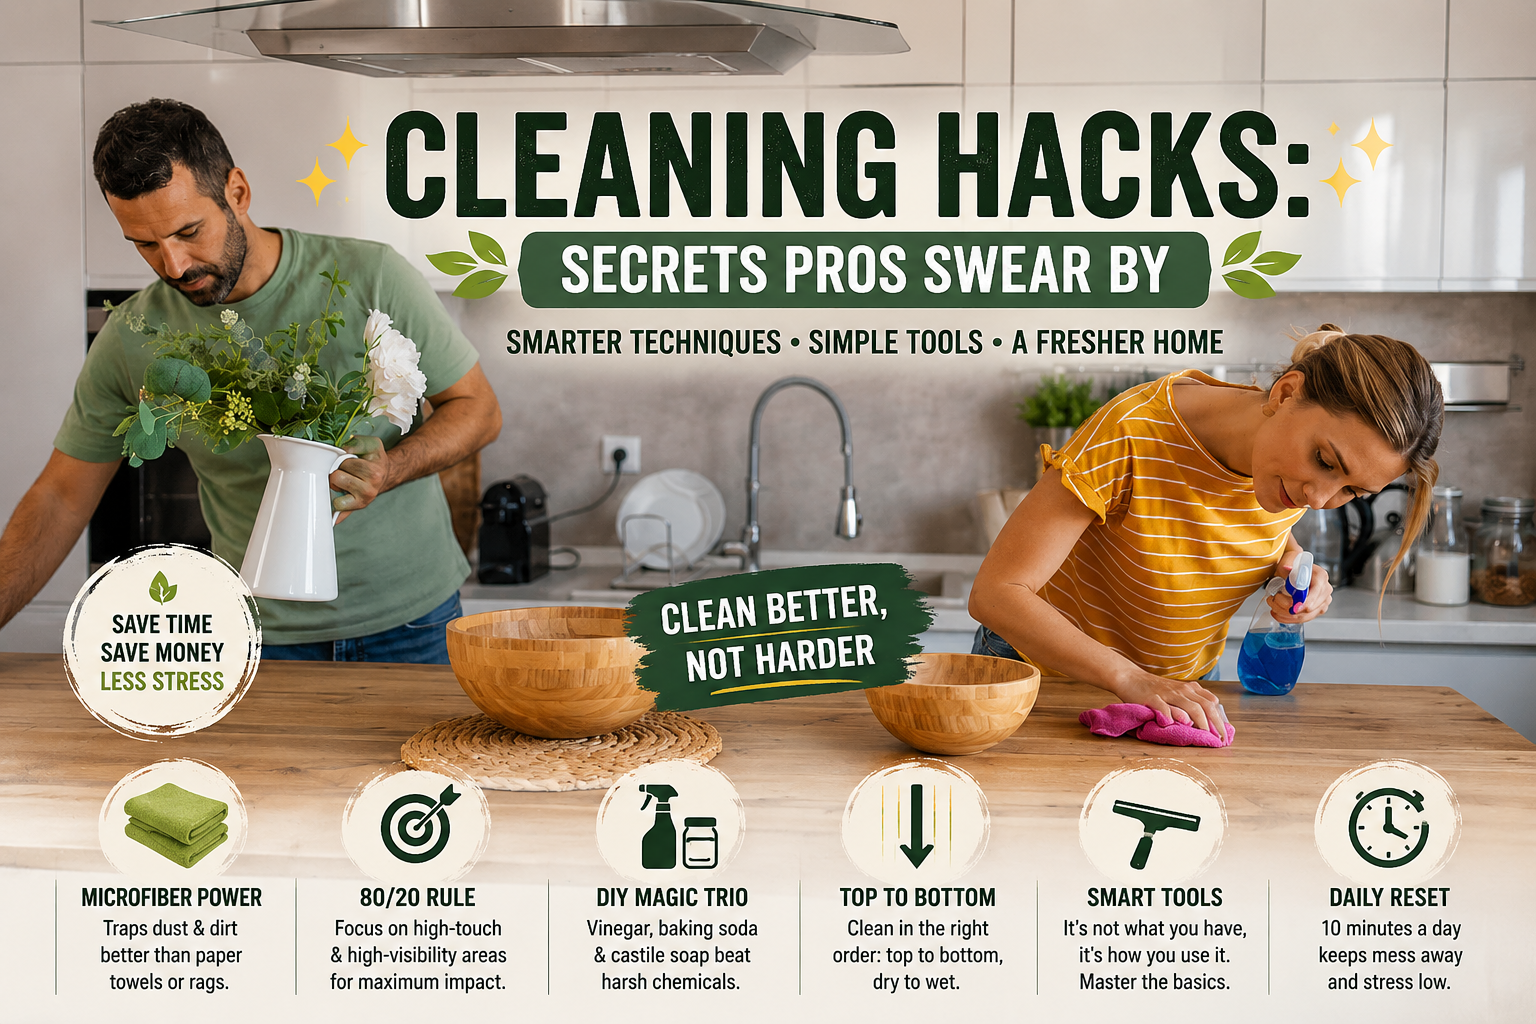
Cleaning does not have to feel like a never-ending battle. The difference between exhausting cleaning and efficient cleaning is often not effort — it is method. Professional cleaners rely on simple systems, smarter tools, and small daily habits that make a home easier to maintain. From microfiber cloths to the 80/20 rule, DIY cleaning basics, and the top-to-bottom method, these practical cleaning hacks can help you save time, reduce frustration, and make your space feel fresher with less work.
Most people clean harder than they need to. They scrub the same spot again and again, use too many products, start in the wrong place, or jump from one task to another without a plan. The result is usually the same: the house looks better for a while, but the process feels tiring and the mess comes back quickly.
Professional cleaners think differently. They do not rely on motivation alone. They rely on repeatable systems. They know which surfaces matter most, which tools actually save time, and which order prevents extra work. Once you understand these principles, cleaning becomes less about “deep cleaning everything” and more about maintaining a home that stays manageable.
This guide breaks down practical cleaning hacks that are easy to apply at home. You do not need a closet full of expensive products or professional equipment. In many cases, a few smart changes can make your routine faster, cleaner, and much less stressful.
Quick Thought: A cleaner home is usually not the result of one huge cleaning day. It is the result of better tools, better order, and small habits repeated often enough that mess never gets out of control.
1. Switch to Microfiber: The Small Tool That Changes Everything
If there is one simple upgrade that can improve almost every cleaning routine, it is switching from paper towels or old cotton rags to microfiber cloths. It sounds small, but it makes a noticeable difference. Microfiber is designed to grab dust, dirt, grease, and moisture more effectively than regular fabric.
Old cotton towels often push dirt around instead of lifting it away. Paper towels can leave lint, streaks, and waste behind. Microfiber cloths, on the other hand, have very fine fibers that help trap particles. This is why they work so well on glass, countertops, stainless steel, mirrors, appliances, cabinets, and even dusty shelves.
One of the best parts of microfiber is that you often need less cleaning product. For many light cleaning jobs, water alone is enough. For greasy kitchen surfaces or bathroom areas, you can still use a suitable cleaner, but the cloth does much of the work for you. That means less spraying, less wiping, and fewer streaks.
For Glass
Use a clean microfiber cloth to reduce streaks on mirrors, windows, and glass tables.
For Dust
Use it dry to catch dust from shelves, electronics, furniture, and baseboards.
For Kitchens
Use a damp cloth to wipe counters, cabinet fronts, appliances, and dining surfaces.
To make microfiber work even better, use a color system. For example, blue cloths for glass, green for kitchen surfaces, yellow for bathrooms, and gray for dusting. This helps prevent cross-contamination and keeps your routine more organized.
Microfiber Tip: Wash microfiber cloths separately and avoid fabric softener. Fabric softener can coat the fibers and make the cloths less effective over time.
2. Use the 80/20 Rule: Clean What People Actually Notice
One reason cleaning feels overwhelming is that people try to make every corner perfect. But in real life, not every surface has the same impact. The 80/20 rule applies surprisingly well to cleaning: a small number of areas usually create most of the visible mess.
Think about what you notice first when you walk into a room. It is usually the floor, the main table, the kitchen counter, the sink, the mirror, or clutter sitting in obvious places. You probably do not immediately notice the top of a cabinet or the back corner of a closet. That does not mean hidden areas should never be cleaned, but they do not need the same daily attention as high-impact zones.
Professional cleaners know how to prioritize. They focus first on high-touch surfaces and high-visibility areas. This gives the biggest result in the shortest amount of time. If you only have 10 or 15 minutes, this approach helps your home feel cleaner without trying to do everything.
Practical Reminder: You do not need a perfect home every day. You need a home that feels manageable, hygienic, and comfortable enough to live in.
3. Keep a Simple DIY Cleaning Trio at Home
You do not need a different cleaner for every surface in the house. In fact, too many products can make cleaning more confusing. A simple set of basic cleaning ingredients can handle many everyday jobs. Three useful items to keep around are white vinegar, baking soda, and castile soap.
White vinegar is useful for mineral buildup, water spots, soap scum, and light deodorizing. Baking soda is a gentle abrasive, which makes it helpful for sinks, tubs, and odors. Castile soap is a mild plant-based soap that can help clean grease and everyday grime.
The advantage of these basics is that they are inexpensive and flexible. You can use them for many simple jobs without buying a cabinet full of specialized products. However, it is important to use them safely and understand their limits. Natural does not always mean suitable for every surface.
Easy DIY Uses
Use baking soda paste for gentle scrubbing in sinks and tubs. Use diluted vinegar for glass, water spots, and some mineral buildup. Use castile soap diluted with water for everyday wiping on suitable surfaces. Always test a small hidden area first, especially on stone, wood, or delicate finishes.
Safety Note: Never mix vinegar with bleach. This can create dangerous fumes. Also avoid using vinegar on natural stone surfaces like marble, limestone, or some granite, because acid can damage the finish.
4. Clean in the Right Order: Top to Bottom, Dry to Wet
The order you clean in matters more than most people think. If you mop the floor first and then dust the shelves, dust falls onto the clean floor. If you spray surfaces before removing loose crumbs or dust, you can create a muddy mess. This is why professionals use a simple sequence: top to bottom, dry to wet.
Start with the highest areas first, such as ceiling corners, light fixtures, tall shelves, and cabinet tops. Then move downward to tables, counters, furniture, and lower shelves. Let gravity work for you instead of against you. Dust and debris will fall, and you will collect them at the end when you vacuum or mop.
The second part is dry before wet. Declutter first, then dust, then spray and wipe. Floors should usually come last. This order prevents re-cleaning the same surface and makes the whole process feel calmer.
Workflow Tip: Clean one room in a complete loop instead of wandering back and forth. Start near the doorway, move around the room, and finish at the floor.
5. Learn How to Use Basic Tools Properly
A lot of people buy better tools but use them the same old way. The truth is that technique matters. A basic tool used correctly can outperform an expensive tool used badly. A squeegee, a vacuum, a mop, and a microfiber cloth can do excellent work when you know how to use them.
Take the squeegee, for example. Many people only use it in the shower, but it is also excellent for large windows, glass doors, mirrors, and even some smooth surfaces. The trick is to use steady overlapping strokes and wipe the blade between passes. This prevents streaks and leaves the surface cleaner.
Vacuuming is another place where technique matters. Most people move too fast. A slower pass gives the vacuum time to pull dirt from carpet fibers. For rugs and carpets, vacuuming in more than one direction can help lift more debris. It takes a little longer, but the result is noticeably better.
Squeegee
Use top-to-bottom strokes and wipe the blade often to avoid streaks.
Vacuum
Move slowly and overlap your lines instead of racing across the floor.
Mop
Rinse dirty water often. Otherwise, you are spreading grime instead of removing it.
6. Use the Two-Bucket Method for Cleaner Floors
If your floors still feel dull after mopping, the problem may not be the mop. It may be the water. When you dip a dirty mop back into the same bucket again and again, the water becomes dirty quickly. After that, you are mostly spreading cloudy water around the floor.
The two-bucket method solves this problem. Use one bucket for clean solution and another bucket for rinsing. Dip the mop into the clean solution, mop a section, rinse the mop in the rinse bucket, wring it out, and then return to the clean solution. This keeps the cleaning solution fresher for longer.
This method is especially useful for kitchens, entryways, bathrooms, and homes with pets or children. It takes only a little more setup but gives a much cleaner result.
Floor Cleaning Tip: Always vacuum or sweep before mopping. Mopping over crumbs, dust, and hair turns dry debris into sticky residue.
7. Build a 10-Minute Daily Reset
The biggest cleaning hack is not a product. It is a habit. A 10-minute daily reset can stop your home from reaching the point where cleaning feels impossible. This is not deep cleaning. It is a quick return to baseline.
Set a timer for 10 minutes and move quickly through the main living areas. Put stray items back, clear counters, place dishes in the dishwasher, wipe the kitchen table, fluff cushions, empty small trash if needed, and sweep visible crumbs. The goal is not perfection. The goal is to prevent buildup.
This works because mess becomes harder to handle when it sits too long. One cup becomes five cups. One pile of mail becomes a full counter. One dusty corner becomes a weekend project. A short daily reset keeps your weekly cleaning much easier.
Habit Tip: Do the 10-minute reset at the same time every day. Right before bed works well because you wake up to a calmer home.
8. Stop Letting Germ Hotspots Hide in Plain Sight
Some of the dirtiest places in a home are not the ones that look dirty. Germ hotspots are often the surfaces people touch all day without thinking: door handles, light switches, remote controls, faucet handles, refrigerator doors, cabinet pulls, phones, keyboards, and appliance buttons.
These areas do not always need heavy scrubbing, but they do need regular wiping. A quick pass with the right cloth and cleaner can make a big difference, especially during cold and flu season, after guests visit, or in homes with children.
The trick is to make this part of your routine instead of waiting until everything looks dirty. Add high-touch points to your daily or weekly checklist so they do not get forgotten.
High-Touch Cleaning Checklist
Door handles, light switches, remote controls, phones, keyboards, faucet handles, fridge handles, microwave buttons, cabinet pulls, toilet handles, stair rails, and shared tablets or devices.
9. Create a Cleaning Kit That Actually Makes Sense
One reason people avoid cleaning is that everything they need is scattered around the house. The glass cleaner is in one cabinet, the cloths are in the laundry room, the gloves are missing, and the scrub brush is under the sink. By the time you collect everything, you already feel annoyed.
A simple cleaning caddy can solve this. Keep your main tools together: microfiber cloths, gloves, a gentle all-purpose cleaner, a glass cloth, a scrub brush, baking soda, a small trash bag roll, and any room-specific product you use often. When the kit is ready, starting becomes easier.
You do not need a huge collection. In fact, a smaller kit is usually better. Too many products create decision fatigue. A few reliable tools make cleaning feel more automatic.
Basic Kit
Microfiber cloths, gloves, all-purpose cleaner, glass cloth, and scrub brush.
Kitchen Add-Ons
Degreaser, baking soda, dish soap, and a small detail brush.
Bathroom Add-Ons
Toilet brush, bathroom-safe cleaner, grout brush, and dedicated bathroom cloths.
10. Think Maintenance, Not Marathon Cleaning
The real secret to a consistently clean home is not cleaning harder. It is letting less mess accumulate in the first place. When you wait until everything is dirty, cleaning becomes a major event. When you do small resets regularly, cleaning stays lighter.
This does not mean your home has to look staged or perfect. Real homes are lived in. There will be dishes, laundry, dust, and clutter. The goal is not perfection. The goal is to keep your home from crossing the line into overwhelming.
A maintenance mindset is more forgiving. You stop seeing cleaning as punishment and start seeing it as a small way of supporting your future self. Ten minutes tonight can make tomorrow morning easier. Wiping the counter now prevents sticky buildup later. Putting items back today prevents a weekend of sorting.
Mindset Shift: A clean home is not built by one exhausting cleaning session. It is built through small, repeatable actions that make the next clean easier.
Final Thoughts: Clean Smarter, Not Harder
Cleaning becomes much easier when you stop treating it as a random list of chores and start treating it as a system. Use better tools, clean in the right order, focus on the areas that matter most, and build small habits that prevent mess from piling up. That is how professionals save time, and it is exactly what makes these cleaning hacks practical at home.
You do not need to transform your entire routine overnight. Start with one change. Buy a few microfiber cloths. Try the top-to-bottom method. Do a 10-minute reset before bed. Make a small cleaning caddy. Add high-touch surfaces to your weekly routine. Each small improvement makes the next one easier.
The best cleaning routine is not the one that looks impressive online. It is the one you can actually keep doing. When cleaning feels simpler, faster, and more satisfying, your home becomes easier to enjoy — and that is the real win.
Final Reminder: The goal is not a spotless home every minute of the day. The goal is a home that feels fresh, manageable, and peaceful enough for real life.